
TIG Welding for Beginners: Setup, Settings, and Common Mistakes
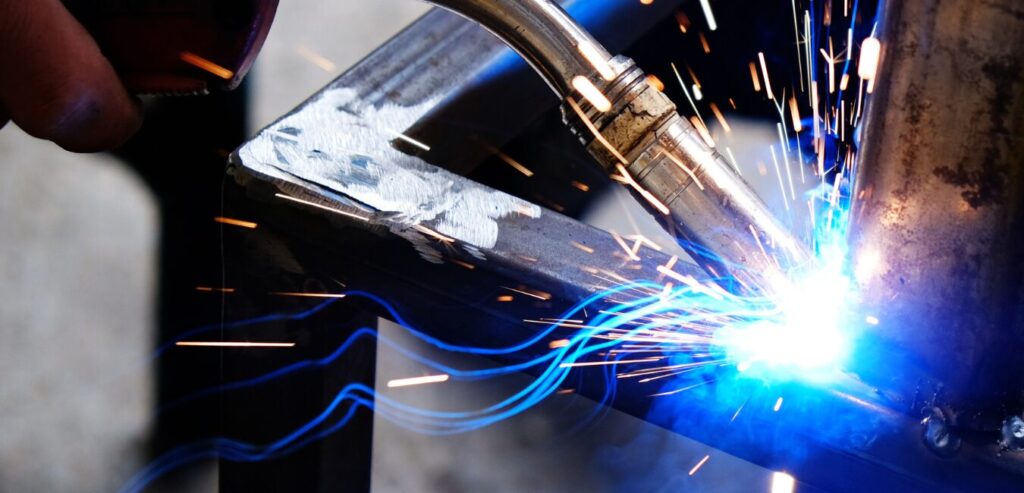
TIG welding produces the cleanest welds of any manual arc process, but only when the setup and settings are right. A wrong tungsten, a bad gas flow, or an amperage setting that is too high for the material will give you contaminated puddles, burn-through, and frustration before you lay your first decent bead. This TIG welding settings guide covers the machine setup, the numbers to start with, and the common TIG welding mistakes that cost beginners the most time.
How to Set Up a TIG Welder
Here is how to set up a TIG welder from scratch, assuming you have an AC/DC machine, a torch, and a gas cylinder.
Connect the Torch and Ground
- Attach the TIG torch to the torch port on the machine (usually marked with a negative symbol for DCEN).
- Connect the ground clamp to the positive terminal.
- For AC aluminum welding, polarity switches automatically inside the machine, so the physical connections stay the same.
Install the Tungsten
Choose the right tungsten type and diameter for your material:
| Tungsten Type | Color Code | Best For |
|---|---|---|
| 2% Ceriated | Gray | DC steel, stainless, general purpose |
| 2% Lanthanated | Blue | DC and AC, all-around performer |
| Pure tungsten | Green | AC aluminum (traditional choice) |
| 2% Thoriated | Red | DC steel and stainless (being phased out due to radioactivity) |
For beginners, ceriated or lanthanated tungsten is the best starting choice because both work on DC and AC.
Grind the tungsten to a point for DC welding. For AC aluminum, the tip balls naturally. Insert the tungsten so about 1/4 inch extends past the cup.
Set Up Shielding Gas
- Connect the gas hose from the regulator to the machine.
- Open the argon cylinder and set the flowmeter to 15 to 20 CFH.
- Press the gas button or torch trigger to confirm gas is flowing before striking an arc.
How to set up a TIG welder gas flow correctly: too little gas (under 12 CFH) leaves the weld unshielded. Too much (over 25 CFH) creates turbulence that pulls air into the weld zone. Start at 15 CFH and increase only if you see discoloration on stainless or porosity on steel.
TIG Welding Settings Guide by Material
Settings depend on material type, thickness, and tungsten size. Here is a TIG welding settings guide for the most common beginner scenarios:
| Material | Thickness | Tungsten | Polarity | Amperage | Gas Flow |
|---|---|---|---|---|---|
| Mild steel | 1/16 in | 3/32 in | DCEN | 40-70A | 15 CFH |
| Mild steel | 1/8 in | 3/32 in | DCEN | 80-120A | 15-20 CFH |
| Stainless steel | 1/16 in | 1/16 in | DCEN | 30-60A | 15 CFH |
| Stainless steel | 1/8 in | 3/32 in | DCEN | 70-110A | 15-20 CFH |
| Aluminum | 1/16 in | 3/32 in | AC | 60-90A | 18-20 CFH |
| Aluminum | 1/8 in | 1/8 in | AC | 100-150A | 20-25 CFH |
These numbers are starting points. Use a foot pedal to control amperage in real time and adjust based on how the puddle behaves. If the puddle forms too slowly, increase amps. If it blows through or gets too wide, back off.
For TIG welding for beginners, start at the low end of each amperage range and work up. It is easier to add heat than to repair burn-through.
Common TIG Welding Mistakes and How to Fix Them
Most TIG problems trace back to the same handful of errors. Here are the common TIG welding mistakes beginners make and what to do about each one.
Contaminating the Tungsten
Dipping the tungsten into the weld puddle is the most frequent beginner mistake. The tungsten picks up base metal, the arc becomes erratic, and the weld is contaminated. When this happens, stop welding. Break off the contaminated tip, regrind to a point, and start again.
Prevention: Keep the tungsten 1/8 inch above the workpiece and feed the filler rod into the leading edge of the puddle, not into the arc.
Too Much Amperage
Running too hot melts through thin material and creates a puddle that is hard to control. One of the common TIG welding mistakes is setting amperage from a YouTube video instead of matching the actual material on the table.
Fix: Start low. Use the foot pedal to ramp up. If the metal warps or the puddle grows faster than you can travel, back off.
Wrong or No Post-Flow
Post-flow is the shielding gas that continues after you release the trigger. Without it, the hot tungsten and weld puddle oxidize. The tungsten erodes faster, and the weld discolors.
Fix: Set post-flow to 5 to 10 seconds. Rule of thumb: 1 second per 10 amps.
Inconsistent Arc Length
Holding the torch too far spreads the arc and wastes heat. Too close risks dipping the tungsten.
Fix: Maintain a consistent 1/8 inch gap. Practice beads without filler until your arc length is steady.
Dirty Base Metal
TIG is less forgiving than MIG on surface contamination. Oil, grease, oxide, and mill scale all disrupt the puddle and cause porosity. One of the most preventable common TIG welding mistakes is skipping the cleaning step.
Fix: Wipe with acetone, then scrub with a dedicated stainless steel brush (not the one you use on carbon steel). Clean the filler rod too.
Getting Started at CryoWeld
This TIG welding settings guide and setup walkthrough covers the fundamentals. CryoWeld carries Lincoln Electric TIG welders, Weldcraft torches, tungsten, filler rod, argon, and safety equipment to get you running.
TIG welding for beginners starts with the right equipment and the right advice. Stop by Poughkeepsie or Lake Katrine in the Hudson Valley. Call Poughkeepsie at (845) 473-3357 or Lake Katrine at (845) 336-8680, weekdays 8 to 5. Or visit cryoweld.com.
Frequently Asked Questions
What shielding gas should I use for TIG welding?
100% argon for all standard TIG work on steel, stainless, and aluminum. Argon/helium mixes are used for thicker aluminum or copper where more heat input is needed. Never use CO2 or argon/CO2 mixes for TIG.
Why does my tungsten keep contaminating?
You are dipping it into the weld puddle. Keep the tungsten 1/8 inch above the workpiece and feed the filler rod into the puddle, not into the arc stream. If it happens, stop, break off the contaminated tip, regrind, and start again.
What amperage should I start with for TIG welding thin steel?
For 1/16 inch mild steel with a 3/32 inch tungsten, start around 40 to 50 amps and adjust with the foot pedal. For 1/8 inch, start around 80 amps. Always begin at the low end of the range and increase until the puddle forms at a controllable speed.
Do I need a foot pedal for TIG welding?
For TIG welding for beginners, yes. The foot pedal gives real-time amperage control, which is essential for preventing burn-through on thin material and feathering out at the end of a bead. Some torches offer fingertip controls, but the foot pedal is standard.
How do I know if my gas flow is too high or too low?
Too low (under 12 CFH): you will see discoloration on the weld (blue, purple, or grey on stainless; porosity on steel). Too high (over 25 CFH): turbulence pulls air into the shielding envelope, causing the same problems. Start at 15 CFH and adjust only if needed.
What is post-flow and why does it matter?
Post-flow is the shielding gas that continues after you stop welding. It protects the hot tungsten and cooling weld from oxidation. Set it to 5 to 10 seconds. Without it, the tungsten erodes faster, and the weld discolors.